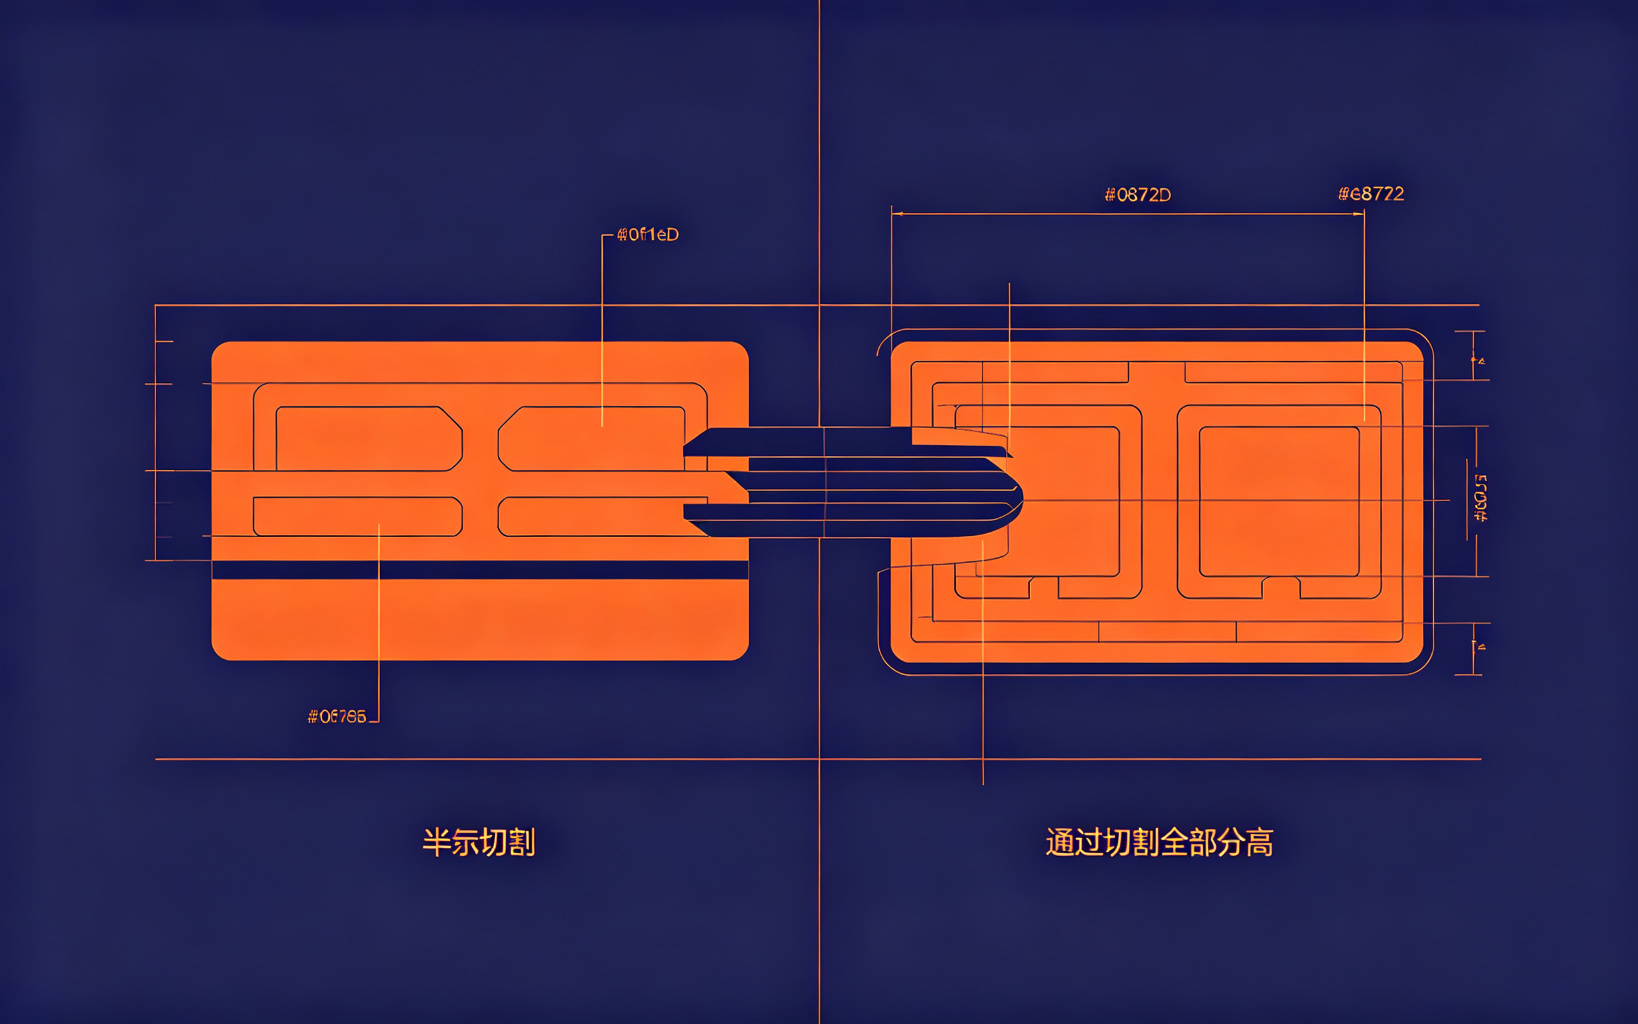
Kiss Cutting vs Through Cutting: When to Use Each Process
Kiss cutting and through cutting are not interchangeable options — they drive entirely different downstream assembly, tooling and cost. Choosing the right one at the design stage is cheaper than re-tooling after the first article.
Kiss cutting (die on the liner)
The knife cuts through the adhesive and carrier but stops cleanly on the release liner. The part stays on a continuous liner, in a fixed pitch, ready for robotic or roll-fed assembly.
- Best for: high-volume consumer electronics, automated pick-and-place, parts that must be presented on a tape-and-reel liner.
- Requires: tight liner thickness tolerance, accurate die depth control.
- Watch out: thin foams can tear if the die cuts too deep; very soft materials may not release cleanly.
Through cutting (die through the part)
The knife cuts completely through adhesive, carrier and liner. The finished parts are loose, either bulk packed or on a easy-peel sheet.
- Best for: low-to-mid volume, gaskets, foam pads, parts picked by hand, or parts where the liner is removed at final assembly.
- Requires: a matrix (waste web) that holds the part during cut.
- Watch out: parts move on the liner during stacking; tight pitch nests are harder than kiss-cut.
How to decide
- Will a machine pick the part from a liner? → Kiss cut.
- Will an operator peel and place it? → Through cut is cheaper and simpler.
- Volume > 50,000 pieces per run? → Kiss cut pays back tooling cost fast.
- Prototype or < 5,000 pieces? → Through cut, no need for precision liner tooling.
When you send your drawing, tell us how the part will be assembled. We will recommend the process that minimises total cost, not just unit price.
Tell us your assembly process — get a process recommendation →